How Sunglasses Should Fit Without Pinching
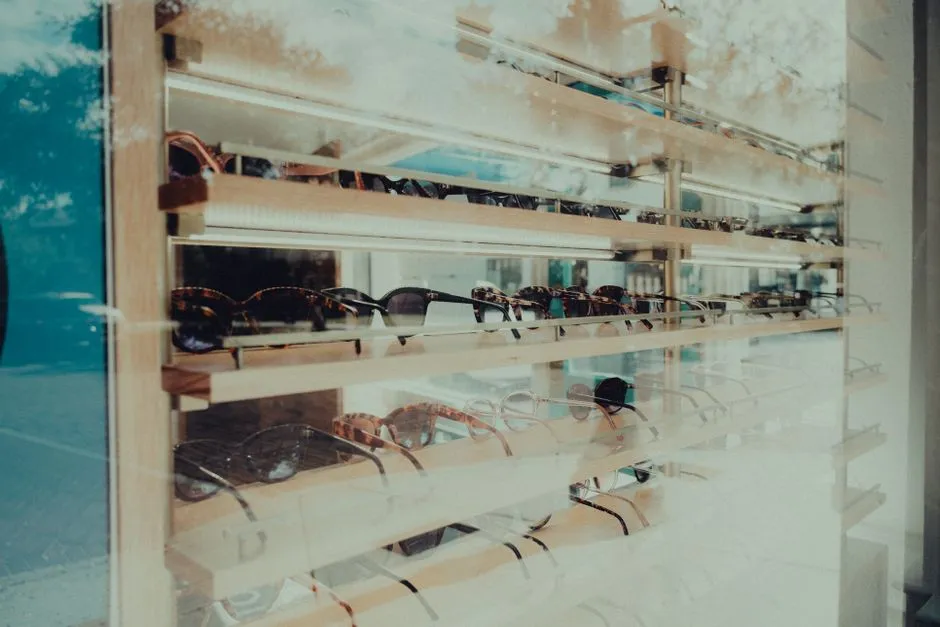
How should sunglasses fit?
Sunglasses should sit level, keep each lens directly in front of an eye, stay put when you look down, and avoid painful pressure at the bridge, temples, ears, or cheeks. Eyelashes should not brush the lenses, and smiling should not push the frame noticeably upward. Check the bridge, front width, temples, coverage, optical alignment, and intended activity on your own face; a size label alone cannot prove fit.
A close frame can also improve protection. The National Eye Institute (NEI) advises choosing sunglasses that fit well, cover skin around the eyes, and minimize light entering from the top, bottom, and sides. Fit does not replace verified UV protection. Require a clear UV400 or 99-to-100-percent UVA/UVB claim.
Decode the three size numbers
Many frames carry a sequence such as 50-20-150, usually inside a temple arm. The Ray-Ban size guide defines the first two values as lens width and bridge width, in millimetres; the third is temple length.
| Number | Measurement | What it helps compare |
|---|---|---|
| 50 | Width of one lens | Approximate lens and front scale |
| 20 | Distance between lenses | Bridge family and nose clearance |
| 150 | Temple-arm length | Whether the arm can reach behind the ear |
These are comparison fields, not a complete fit formula. Front width, lens height, bridge shape, hinge position, nose-pad geometry, lens tilt, and temple curve still change the result. A 20 mm molded bridge and a 20 mm adjustable-pad bridge do not contact the nose identically.
If a current pair fits, copy its model and size code. Record whether it has molded or adjustable pads, where its temples touch, and whether cheeks or lashes contact it. That is more useful than choosing a generic small, medium, or large.
Start with the bridge and nose pads
The bridge should carry the frame evenly without one sharp pressure point. A molded plastic bridge should make balanced contact rather than perch on a narrow edge. Adjustable nose pads should sit flat against the sides of the nose, not tip into the skin.
Run four checks:
- Put the frame on without forcing it unusually high or low.
- Look down as if reading a field guide.
- Speak, smile, and gently shake your head.
- Wear it for several minutes, then note concentrated pressure.
Slight movement differs from repeated sliding. Deep, painful, or persistent marks, numbness, skin injury, or a bridge that will not remain centered indicate poor fit or an adjustment problem. Do not compensate by aggressively bending the temples inward; that transfers load to the sides of the head.
An optician can assess compatible nose pads, temple angles, and frame materials. Heating, filing, or forcefully bending eyewear at home can damage coatings, weaken material, create uneven alignment, or void a warranty.
Check front width, hinges, and temples
Look straight into a mirror. The frame should appear level, and the temples should leave the hinges without immediately bowing outward. From above, the arms should travel back smoothly rather than being forced around the head.
A frame may be too narrow when the hinges or temples press hard, the arms bow outward, the frame lifts when you smile, or discomfort builds. It may be too wide when it shifts with small movements, sits crooked despite balanced bridge contact, or cannot anchor gently behind the ears.
Open and close your jaw and wear the pair long enough for delayed pressure to appear. Behind each ear, the temple curve should hold without pinching. Arms that are too short may pull the front backward or press behind the ears; very long arms may fail to anchor.
For cable temples, sport retainers, or straps, confirm that retention does not create unsafe pressure. Test hats, hearing devices, and helmets together with the frame. Eyewear must not move a helmet from its prescribed fit or trap a hearing-device component.
Put the lenses in the correct position
Each lens should remain in front of its eye while the frame sits naturally. Lashes should not brush the inner surface during normal blinking, and cheeks should not push the frame significantly upward when you smile. Persistent contact can smear a coating, move the frame, and signal an unsuitable bridge, pad position, tilt, or shape.
For nonprescription sunglasses, use the FDA optical-quality check: look at a vertical edge through the lenses, then move your head back and forth so your eyes sweep across them. A line that visibly wiggles can indicate an optical defect; choose another pair.
Prescription sunglasses require measurements appropriate to the prescription and lens design. Pupil position, fitting height, frame tilt, wrap, and lens shape can matter. An eye-care professional should measure and assess the finished eyewear rather than relying on a face-width estimate or virtual try-on alone.
Stop using a pair that causes significant waviness, double vision, nausea, headache, eyestrain, or disorientation and have it checked. Sudden vision loss, severe eye pain, eye trauma, or new flashes with many floaters needs prompt medical assessment.
Check coverage and UV protection separately
Face a bright area without looking at the sun. Notice gaps above, below, and beside the lenses. Larger or wraparound frames can reduce stray light and cover more skin, provided they remain comfortable and optically suitable.
Coverage and lens filtering are separate. A close frame with an unverified dark tint is not a substitute for UV400 labeling, while a verified lens can still feel poor if broad gaps admit glare. The FDA current guidance says lens darkness does not indicate UV protection and higher price does not ensure it. An optical shop may be able to test uncertain lenses.
A broad-brimmed hat adds shade. Never look directly at the sun to test sunglasses. Ordinary sunglasses are not solar-viewing, laser, welding, industrial, or high-risk sports protection. Although U.S. sunglasses are subject to impact-resistance requirements, FDA guidance does not make them shatterproof or a substitute for hazard-rated protective eyewear.
Test the activity, not only the mirror
The right fit survives the equipment and movements you use:
- Binoculars: check eye relief, eyecup position, frame pressure, and field of view.
- Hat: make sure the brim and temples do not push the frame crooked.
- Helmet: use products designed to fit together without compromising either item's position.
- Hearing devices: check rubbing, sound, retention, and access behind the ear.
- Phone, camera, or vehicle display: confirm polarized lenses do not hide essential information at working angles.
- Walking or field use: look down, turn, climb a few safe stairs, and mimic repeated movements in a safe area. Check slipping, soreness, and fogging as well as alignment.
For lens choices by viewing conditions, compare the best sunglass-lens setups for birding. Polarization, tint darkness, UV protection, and impact protection describe different properties; do not infer one from another.
Use a 15-to-20-minute return-window test
Keep the frame clean and returnable, then wear it indoors for 15 to 20 minutes. This is an editorial test interval, not a medical threshold. It can expose pressure a quick mirror check misses.
| Check | Pass signal | Reconsider when |
|---|---|---|
| Bridge | Even, stable contact | Sliding, pinching, one hard spot |
| Front | Level and centered | Crooked or lifted by cheeks |
| Temples | Gentle contact | Bowing, squeezing, slipping |
| Lenses | Clear, stable view | Waviness, strain, lash contact |
| Coverage | Useful shade around eyes | Broad distracting light gaps |
| Equipment | Works in real setup | Interference or displaced safety gear |
Then try appropriate daylight without staring toward the sun. If the frame fails, name the failed dimension: bridge contact, front width, temple length, lens position, or coverage. That note helps prevent the next pair from repeating the problem.
An optician should handle a crooked frame, uneven pads, loose hardware, lens misalignment, or adjustments requiring heat or material-specific tools. Browse fit and care and field lens guides for published follow-through.